Privacy Policy popup
×Privacy Policy popup
× 5,385
5,385  16 Minutes
In an age dominated by high-definition digital media, there’s a certain nostalgia that still surrounds the humble VHS tape. Whether you’re looking to preserve cherished memories or explore the unique aesthetic of vintage filmmaking, capturing valuable VHS tapes has become a fascinating endeavor for many. In this article, we’ll delve into the world of VHS capture, unveiling three distinct methods to convert cassettes to digital. Whether you’re a seasoned videophile or a curious beginner, join us on a journey through time as we explore 3 ways to digitize VHS.
Thanks to Movavi, there are three programs that you can use to convert VHS to digital: Video Suite, Video Converter, and Screen Recorder. Let’s explore each one of these programs.
Converting VHS to digital format using Movavi Video Suite is a straightforward process that allows you to preserve your cherished memories for years to come. Follow these step-by-step instructions to transfer VHS to digital:
Begin by downloading and installing Movavi Video Suite from the official website. Make sure to choose the version that’s compatible with your operating system.
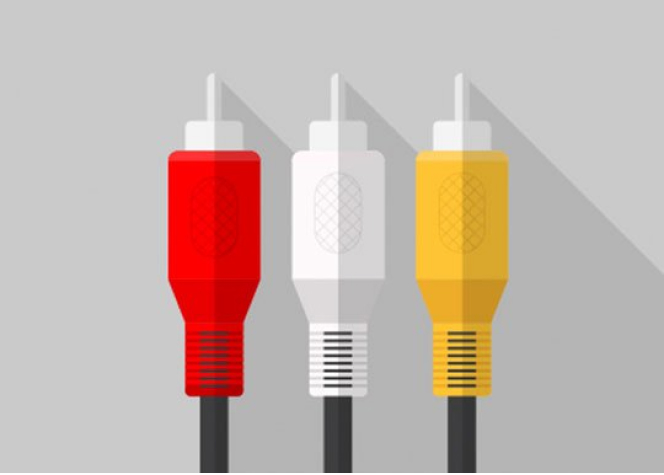
Before you start, ensure you have the necessary equipment:
Connect your VHS player or camcorder to your computer using RCA cables or the VHS-to-digital converter. Ensure that the video and audio outputs from your VHS player are correctly connected to your computer’s video capture device.
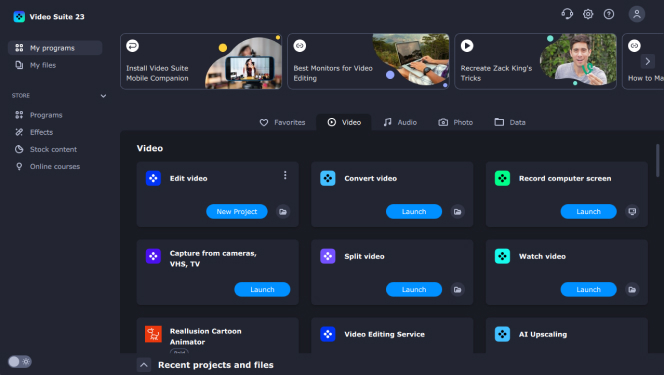
Open Movavi Video Suite on your computer. Once the program is running, select Capture from cameras, VHS, TV. This will open the capture module.
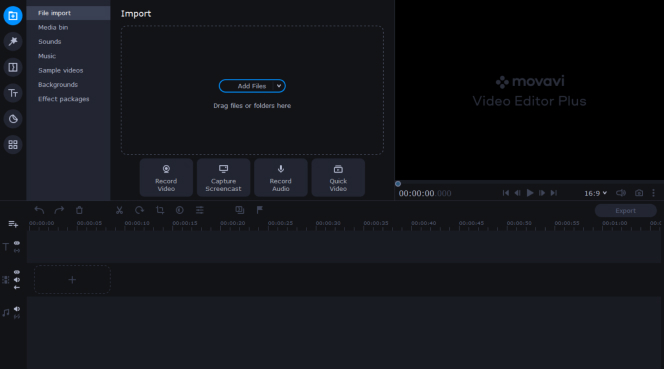
In the capture module, you’ll need to configure your capture settings:
Insert the VHS tape you want to convert into your VHS player or camcorder. Make sure it’s rewound to the beginning if necessary.
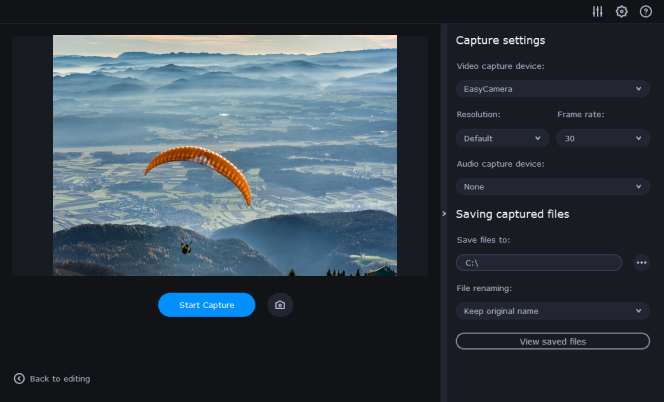
Click the Start Capture button in Movavi Video Suite. Play your VHS tape on your VHS player or camcorder. The software will begin capturing the video and audio in real-time.
When you’ve captured the desired footage, click the Stop Capture button. The VHS to digital software will save the captured video to the designated output folder.
You can use the editing tools within Movavi Video Suite to trim, enhance, or add effects to your digitized video. Once you’re satisfied with the edits, click “Export” to save the video in your preferred format (e.g., MP4, AVI, or MOV).
Congratulations! You’ve successfully converted your VHS tape to a digital format using Movavi Video Suite. You can now enjoy and share your digitized memories on modern devices or preserve them for generations to come. Remember to properly store your original VHS tapes in a cool, dry place to ensure their longevity, even after digitization.
Transforming VHS tapes into digital format through Movavi Video Converter is a simple procedure that empowers you to preserve your treasured memories digitally. Before you use Movavi Video Converter, please use a VHS to digital converter of your choice. Adhere to these step-by-step guidelines on how to convert VHS to digital with Movavi’s conversion program.
Capture the tape before you start using Movavi’s VHS converter. Movavi Video Converter can’t digitize your tapes but it can convert the captured VCR to a computer-compatible format.
Begin by downloading and installing Movavi Video Converter from the official website.
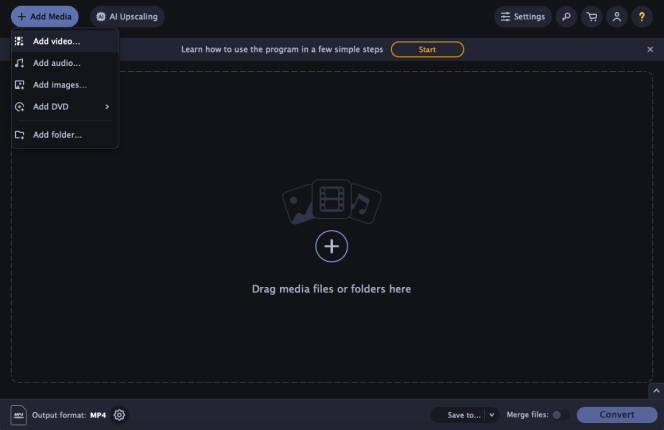
Open Movavi Video Converter on your computer. Once the program is running, click the Add Media button in the upper-left corner to import the video from your VHS tape. In the Add Media dialog, choose your VHS tape’s video file and click the Open button.
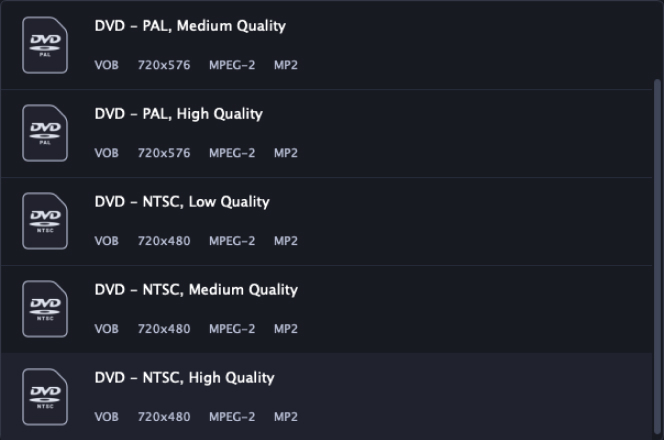
Click on the Video tab to select the output format for your digitized video. Popular formats include MP4, AVI, MOV, and DVD-compatible formats.
Click the Settings button next to the output format to adjust the video and audio settings. Ensure the settings match your desired quality and resolution. You may want to select a higher resolution for better quality, but keep in mind that it will result in larger file sizes.

Click the Save to field to specify the folder where you want to save the digitized video. Select a location with enough storage space for your files.
Once you’ve configured all the settings, click the Convert button to start the conversion process. Movavi Video Converter will begin digitizing the VHS tape and saving it in the chosen format and location.
Capturing VHS footage and converting it to a digital format is possible using Movavi Screen Recorder as a VHS to digital software. Follow these step-by-step instructions to capture VHS to digital using Movavi Screen Recorder:
Download and install Movavi Screen Recorder from the official website.
Connect your VHS player to your computer and ensure that the VHS tape you want to capture is ready to play. You can use RCA cables or any other appropriate connectors to link the VHS player’s output to your computer’s input.
Open Movavi Screen Recorder on your computer. You’ll see a control panel with various recording options.
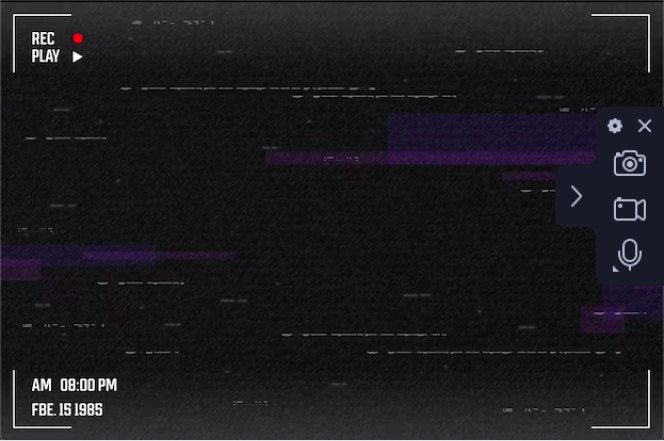
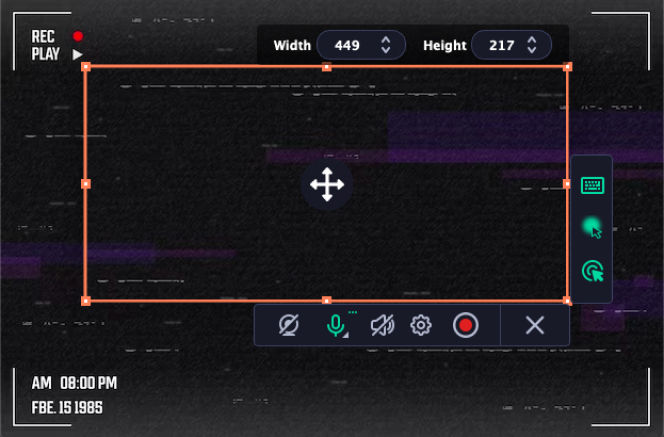
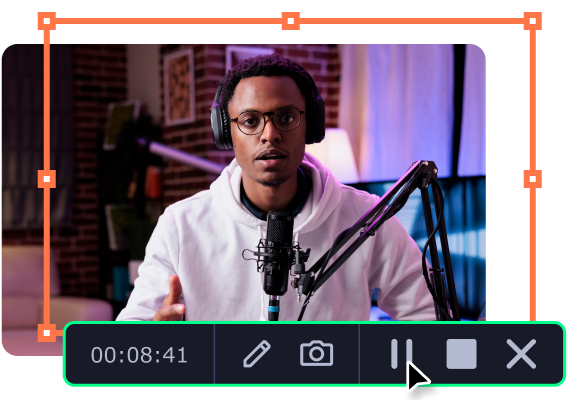
Click the REC button to begin capturing the VHS video. Start playing the VHS tape simultaneously. Movavi Screen Recorder will record everything displayed on your screen, including the VHS playback.
If needed, you can pause the recording by clicking the Pause button on the control panel. To stop the recording, click the Stop button. Movavi Screen Recorder will automatically save the captured video.
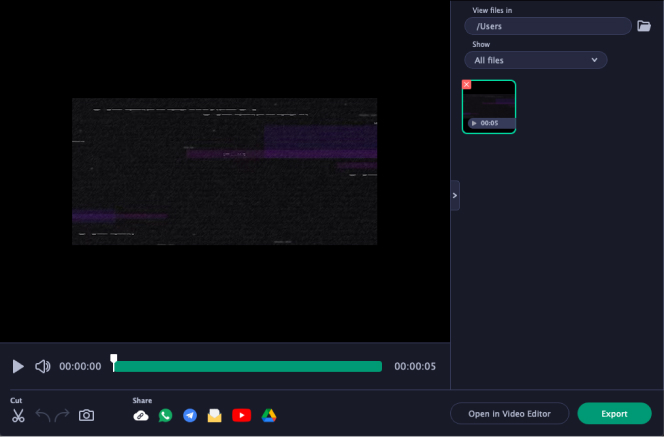
After recording, you can preview the captured video and use Movavi Screen Recorder’s editing tools to trim, enhance, or edit the footage as desired.
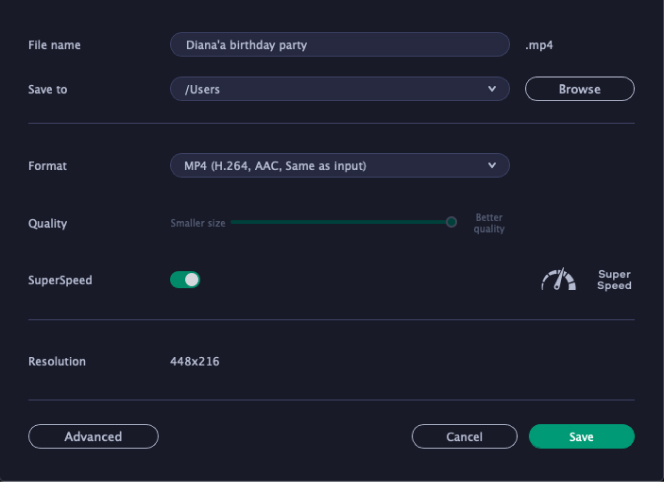
Click the Export button to choose the format and location for your digitized VHS video. You can save it in popular formats like MP4, AVI, or MOV.
Capturing VHS footage and converting it to a digital format can be accomplished using three distinct Movavi software tools: Movavi Video Suite, Movavi Video Converter, and Movavi Screen Recorder.
Movavi Video Suite provides an all-in-one solution for VHS digitization. After installing the software, users can connect their VHS player to their computer, launch Movavi Video Suite, and select the capture module. From there, they configure the capture settings, insert the VHS tape, and begin capturing the video in real-time. This comprehensive suite also offers editing and export options for a polished final product.
Movavi Video Converter offers another approach to VHS-to-digital conversion. Users can import VHS footage into the software made with video tape converters, select the desired output format, adjust settings, and initiate the conversion process. This versatile tool allows for flexibility in converting VHS tapes into digital files of different formats.
Movavi Screen Recorder is a specialized tool for capturing VHS content displayed on the computer screen. Users set up their VHS player, connect it to the computer, and configure the screen recording settings. Then, by clicking the REC button, they can record the VHS playback on their screen. After capturing, editing and export options are available to refine the digitized content.
In summary, Movavi Video Suite, Movavi Video Converter, and Movavi Screen Recorder offer distinct methods for converting VHS tapes to digital format. Whether you prefer an all-in-one suite, a dedicated converter, or screen capture, these Movavi tools provide versatile solutions for preserving your cherished VHS memories in a modern digital format.
Old VHS tapes can still hold sentimental value and potentially be repurposed in creative ways. Here are some suggestions for what to do with old VHS tapes:
Before deciding what to do with your old VHS tapes, assess their content and condition. Some tapes may have historical or personal significance, while others may be better suited for recycling or repurposing. Ultimately, the choice is yours, and it’s a good idea to strike a balance between preserving nostalgia and decluttering your space.
A: To capture VHS to digital format, you will need a VHS player or camcorder with VHS playback capabilities, a computer with sufficient storage space, appropriate cables or a VHS-to-digital converter for connecting your VHS player to your computer, and a VHS recorder, such as Movavi Video Suite, Movavi Video Converter, or Movavi Screen Recorder, depending on your chosen method.
A: You can use RCA cables (also known as AV cables) to connect your VHS player to your computer’s video capture device. Ensure that you have the correct connectors for both your VHS player’s video and audio outputs and your computer’s inputs. Alternatively, if you’re using a VHS-to-digital converter, follow the manufacturer’s instructions for connecting it to your computer.
A: While capturing copyrighted VHS content for personal use may be legally permissible in some regions under the “fair use” doctrine, it’s essential to review and understand your local copyright laws. Generally, it’s best to consult with legal experts or copyright authorities to ensure compliance with copyright regulations.
A: To enhance the quality of digitized VHS footage, consider using a high-quality VHS player, clean your VHS tapes and player heads, adjust recording settings in your capturing software for higher resolution and frame rate, and use good-quality cables. Additionally, post-processing and editing tools can help improve the final output.
A: The choice of format largely depends on your intended use. Common formats like MP4, AVI, or MOV are versatile and widely compatible with various devices and video editing software. If you’re unsure, choose a format that suits your current needs, as you can always convert it to a different format later if necessary.