Privacy Policy popup
×Privacy Policy popup
× 2,964
2,964  11 Minutes
Video trimming is a fundamental editing task, whether you’re creating content for social media, working on a video project, or just looking to cut out unwanted sections from a video file. Everyone’s heard about the VLC player, but not everyone knows that VLC trims videos too! Yes, VLC Media Player, a versatile and free multimedia player, is not only great for playing videos but can also serve as a handy tool for video editing, including trimming. If you’re wondering how to trim video files in VLC, in this guide, we will walk you through the process of trimming videos in VLC on both Windows and Mac operating systems.

Here’s how to trim a video with VLC on Windows in a few simple steps:
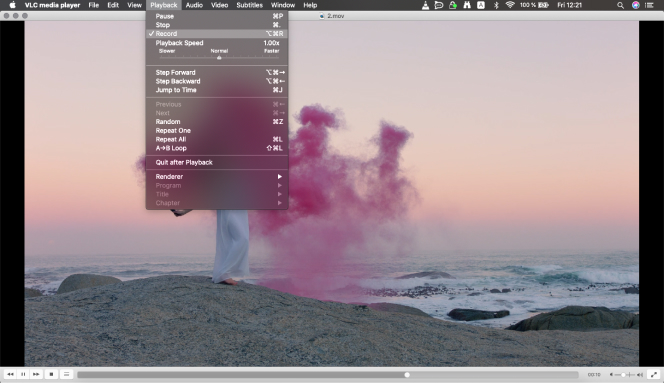
Having VLC trim a video on Mac is as easy as on Windows. Follow these steps to trim video in VLC Media Player:
As you can see, you need to do pretty much the same to trim videos in VLC on Mac. The only difference to getting VLC media player to trim a video is that certain elements of the players’ interface on Mac are named differently from the Windows version.
If you find it challenging to trim video with VLC, you can use an alternative program. One such program is Movavi Video Editor. Follow these steps:
If you haven’t already, download and install Movavi Video Editor on your computer. You can find the software on the official Movavi website.
Open the Movavi Video Editor application on your computer by double-clicking its icon.
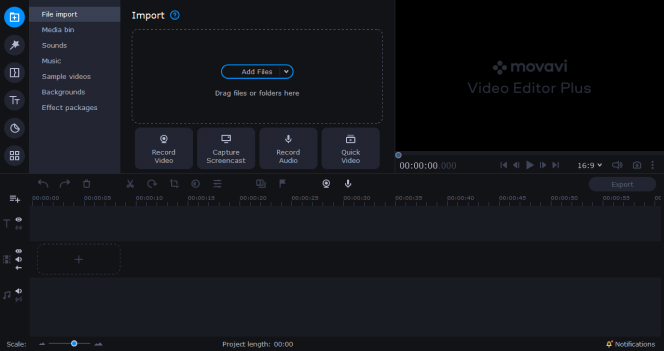
Click on the Add Media Files button or drag and drop your video file into the program’s workspace to import the video you want to trim.
Drag the imported video from the Media Bin to the Timeline at the bottom of the Movavi Video Editor interface.
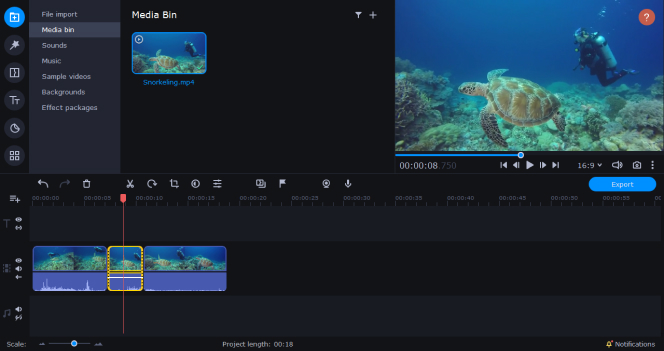
To trim the video, follow these sub-steps:
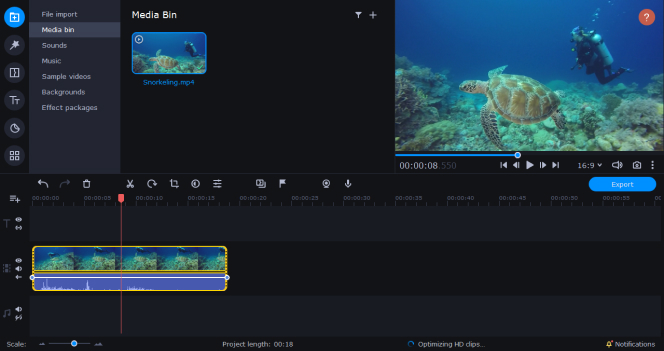
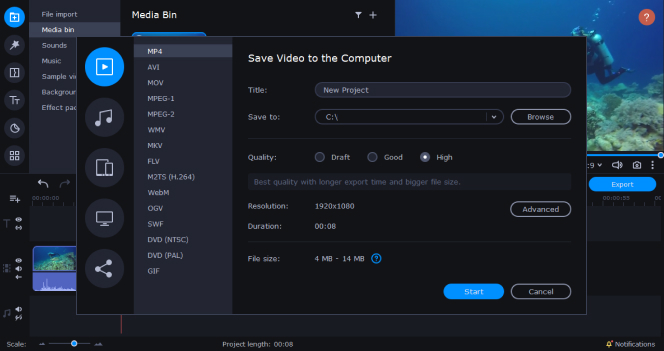
Once you’ve completed the trimming process and are satisfied with the result, click on the Export button in the lower-right corner of the Movavi Video Editor interface.
A dialog box will appear, allowing you to choose export settings for your trimmed video. Select the desired format, quality, and destination folder for the trimmed video file.
Click the Start button to begin exporting your trimmed video. Movavi Video Editor will process the video according to your selected settings.
After the export process is finished, your trimmed video will be available in the folder you selected as the destination during the export settings. You can now access, play, share, or make any further edits to your newly trimmed video as needed.
You can trim video in VLC as a quick solution, but for more advanced and user-friendly video editing capabilities, it’s highly recommended to consider Movavi Video Editor. Movavi Video Editor offers a user-friendly interface, a wide range of editing tools, and extensive format support. Whether you’re a beginner or an experienced video editor, Movavi Video Editor provides a robust set of features to help you create professional-looking videos with ease. It’s a versatile and powerful alternative for those seeking comprehensive video editing capabilities.
We’ve prepared a FAQ if you still have questions about VLC and how to trim a video in VLC.
Yes, you can trim videos in VLC Media Player. While VLC is primarily a media player, it offers a simple method to trim video segments and save them as separate files. Read this article if you want to know how to trim video in VLC on Windows and Mac.
Here’s how to trim the length of your video in VLC:
VLC is known for its extensive support of video formats. You can trim videos in many formats, including MP4, AVI, MKV, and more, making it a versatile choice for video trimming.
To access the trim function in VLC, you need to enable the Advanced Controls. This option can be found under the View menu. Once enabled, you’ll have access to the trim feature. To learn more about ‘VLC, how to trim a video’, read this article.
Yes, you can preview the trimmed video in VLC before saving it. This allows you to ensure that you’ve selected the correct start and end points for trimming. Read this guide to learn how to trim a video in VLC.
VLC allows you to save the trimmed video in various formats, including MP4, AVI, and MKV, among others. You can choose the format that best suits your needs during the saving process.